

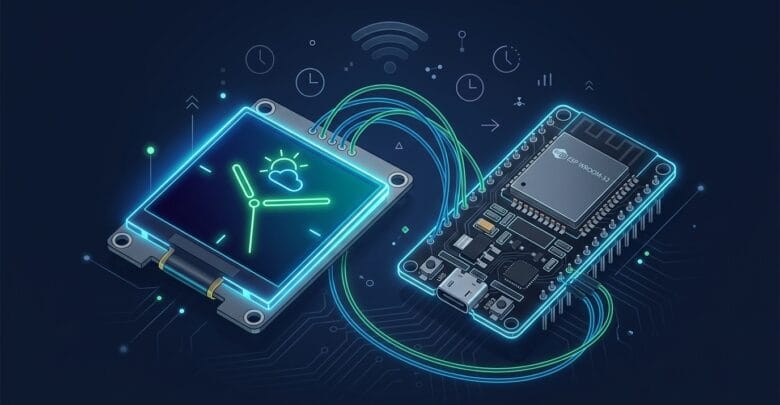
This project turns a tiny OLED screen into a sleek mini desk gadget that always displays the current time and live weather for your city. First, the ESP32 pulls this data straight from the internet and updates it automatically. Consequently, this serves as an excellent way to practice two essential ESP32 skills at once: syncing time over Network Time Protocol (NTP) and parsing responses from a public web API.
What You Will Learn
- First, wire and drive a 128×64 SSD1306 OLED display over an I2C connection.
- Next, sync precise, real-time clock data using NTP servers.
- Furthermore, make HTTP requests to the OpenWeatherMap API and parse the returned JSON payload.
- Finally, display dynamic graphics and text smoothly on an OLED screen.
Project Prerequisites
- Difficulty: Beginner
- Time Required: 30–40 minutes
- Estimated Cost: Under $6 (OLED module) + a free OpenWeatherMap API key
Components Needed
- 1x ESP32 development board
- 1x 0.96″ I2C OLED display (SSD1306 driver, 128×64 resolution)
- Jumper wires
- A free OpenWeatherMap account and API key (
openweathermap.org/api)
Circuit Wiring Diagram
The SSD1306 display module communicates using the I2C protocol, meaning it requires only four wires. Therefore, connect your hardware according to the pin table below.
| ESP32 Pin | Connected Component |
| 3.3V | OLED VCC |
| GND | OLED GND |
| GPIO 21 | OLED SDA |
| GPIO 22 | OLED SCL |
Pro Tip: GPIO 21 and GPIO 22 represent the default I2C pins for most ESP32 DevKit boards. However, always double-check your board’s specific pinout diagram before applying power.
Step-by-Step Setup Guide
Step 1: Install the Required Libraries
- Open Arduino IDE and go to Sketch → Include Library → Manage Libraries.
- Search for and install Adafruit SSD1306 along with its required dependency, Adafruit GFX Library.
- Additionally, search for and install ArduinoJson by Benoit Blanchon (version 6.x) to handle the weather API response.
Step 2: Get Your OpenWeatherMap API Key
- First, create a free account at openweathermap.org.
- Next, navigate to the API Keys tab and copy your generated key.
- Finally, identify your target city name and country code (e.g.,
Dortmund,DE).
Step 3: Wire the Hardware Display
Carefully connect the OLED display module to your ESP32 board following the pin assignments shown in the wiring table above.
Step 4: Upload the Code
Copy the full sketch below into your Arduino IDE. Make sure you update your Wi-Fi credentials, OpenWeatherMap API key, and city location before uploading the sketch to your board.
C++
#include <WiFi.h>
#include <HTTPClient.h>
#include <ArduinoJson.h>
#include <Wire.h>
#include <Adafruit_GFX.h>
#include <Adafruit_SSD1306.h>
#include "time.h"

const char* ssid = "YOUR_WIFI_NAME";
const char* password = "YOUR_WIFI_PASSWORD";
const char* owmApiKey = "YOUR_OPENWEATHERMAP_KEY";
const char* city = "Dortmund,DE";

#define SCREEN_WIDTH 128
#define SCREEN_HEIGHT 64
Adafruit_SSD1306 display(SCREEN_WIDTH, SCREEN_HEIGHT, &Wire, -1);

unsigned long lastWeatherFetch = 0;
float temperature = 0;
String weatherDesc = "--";

void fetchWeather() {
  if (WiFi.status() != WL_CONNECTED) return;
  HTTPClient http;
  String url = "http://api.openweathermap.org/data/2.5/weather?q=" + String(city) +
               "&units=metric&appid=" + String(owmApiKey);
  http.begin(url);
  int code = http.GET();
  if (code == 200) {
    String payload = http.getString();
    DynamicJsonDocument doc(2048);
    deserializeJson(doc, payload);
    temperature = doc["main"]["temp"];
    weatherDesc = doc["weather"][0]["main"].as<String>();
  }
  http.end();
}

void setup() {
  Serial.begin(115200);
  Wire.begin(21, 22);
  display.begin(SSD1306_SWITCHCAPVCC, 0x3C);
  display.clearDisplay();

  WiFi.begin(ssid, password);
  while (WiFi.status() != WL_CONNECTED) {
    delay(500);
  }

  configTime(3600, 3600, "pool.ntp.org");  // Adjust UTC/DST offset for your timezone
  fetchWeather();
  lastWeatherFetch = millis();
}

void loop() {
  if (millis() - lastWeatherFetch > 600000) {  // Refresh weather every 10 minutes
    fetchWeather();
    lastWeatherFetch = millis();
  }

  struct tm timeinfo;
  getLocalTime(&timeinfo);
  char timeStr[9];
  strftime(timeStr, sizeof(timeStr), "%H:%M:%S", &timeinfo);

  display.clearDisplay();
  display.setTextColor(SSD1306_WHITE);

  display.setTextSize(2);
  display.setCursor(10, 5);
  display.println(timeStr);

  display.setTextSize(1);
  display.setCursor(0, 30);
  display.println("iotjournal.net");

  display.setTextSize(2);
  display.setCursor(10, 42);
  display.print(temperature, 1);
  display.println(" C");

  display.setTextSize(1);
  display.setCursor(10, 56);
  display.println(weatherDesc);

  display.display();
  delay(1000);
}
Step 5: Power On and Verify
Once uploaded, the screen briefly initializes and connects to Wi-Fi. Consequently, it settles into showing the local time, temperature, and current weather condition. While the clock updates every second, the weather data refreshes automatically every 10 minutes.
How It Works
The configTime() function connects directly to an NTP time server over the internet and maintains the ESP32’s internal real-time clock. Therefore, getLocalTime() always returns accurate time data even after board restarts.
Separately, fetchWeather() issues an HTTP GET request to OpenWeatherMap’s API. The API responds with a JSON payload containing environmental metrics for your specified city. Next, ArduinoJson parses that response and extracts the temperature along with the primary weather condition. Finally, the Adafruit GFX library renders these values onto the SSD1306 OLED screen alongside the updating clock.
Troubleshooting Common Issues
- OLED screen shows no output: Confirm the module’s I2C address (0x3C is standard, but some boards use 0x3D) and verify that SDA and SCL connections are correct.
- Displayed time is incorrect: Adjust the UTC offset and Daylight Saving Time (DST) parameters inside
configTime()to align with your local timezone. - Weather displays 0.0 or fails to update: Indeed, confirm that your API key is fully activated (new keys can take up to an hour to become active) and verify the city name format.
- JSON parsing fails: In addition, increase the buffer size defined in
DynamicJsonDocumentif you elect to parse additional fields from the API payload.
Next Steps and Project Extensions
- Draw dynamic bitmap icons for sunny, cloudy, or rainy weather conditions rather than plain text.
- Fetch multi-day forecast data by integrating OpenWeatherMap’s 5-day forecast endpoint.
- Add a rotary encoder or tactile push button to toggle between multiple display screens manually.
- Check out our previous guide on Building an ESP32 Weather Station for local sensor measurements, or review the Official Espressif Documentation to explore advanced I2C hardware configurations.
Published on iotjournal.net — part of the ‘Practical ESP32 Projects’ series.
For more hardware tutorials and modern embedded technology trends, explore our complete [IoT Magazine] collection.