

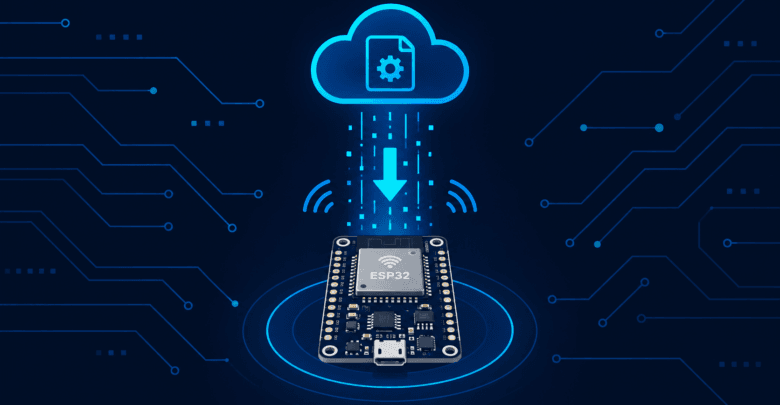
Once an ESP32 project leaves your desk and gets deployed — mounted on a wall, buried in a garden, or shipped to a customer — plugging in a USB cable to update the firmware stops being a minor inconvenience and becomes a real logistical problem. Over-the-Air (OTA) updates solve this by letting you push new firmware to an ESP32 over Wi-Fi, no physical access required.
This guide covers how ESP32 OTA updates work, how to set them up, and the practical considerations that matter once you’re updating devices you can’t easily walk over to.
Why OTA Updates Matter
For a project sitting on your desk, USB flashing is fast and simple. But once you have devices deployed in hard-to-reach locations, multiple units in the field, or a product shipped to customers, OTA updates become essential rather than a nice-to-have.
How ESP32 OTA Works
The ESP32’s flash memory is partitioned to support OTA updates safely. Instead of overwriting the currently running firmware directly, the ESP32 uses a dual-partition scheme: while one partition runs the active firmware, a new firmware image gets written to the other partition. Only after the new firmware is fully received and verified does the ESP32 switch to booting from the updated partition. If something goes wrong, it can fall back to the previous working version.
Two Main OTA Approaches
Arduino OTA (Local Network)
The ArduinoOTA library enables updates over your local Wi-Fi network directly from the Arduino IDE.
cpp
#include <WiFi.h>
#include <ArduinoOTA.h>

const char* ssid = "YOUR_WIFI_SSID";
const char* password = "YOUR_WIFI_PASSWORD";

void setup() {
  Serial.begin(115200);
  WiFi.begin(ssid, password);
  while (WiFi.waitForConnectResult() != WL_CONNECTED) {
    Serial.println("Connection Failed! Rebooting...");
    delay(5000);
    ESP.restart();
  }

  ArduinoOTA.setHostname("esp32-sensor");

  ArduinoOTA.onStart([]() {
    Serial.println("OTA update starting...");
  });
  ArduinoOTA.onEnd([]() {
    Serial.println("\nOTA update complete");
  });
  ArduinoOTA.onError([](ota_error_t error) {
    Serial.printf("OTA Error[%u]\n", error);
  });

  ArduinoOTA.begin();
  Serial.println("Ready for OTA updates");
}

void loop() {
  ArduinoOTA.handle();
}
HTTP/HTTPS OTA (Remote Updates)
For devices deployed outside your local network, the ESP32 can download a firmware update from a web server:
cpp
#include <WiFi.h>
#include <HTTPClient.h>
#include <Update.h>

void performOTAUpdate(String firmwareURL) {
  HTTPClient http;
  http.begin(firmwareURL);
  int httpCode = http.GET();

  if (httpCode == HTTP_CODE_OK) {
    int contentLength = http.getSize();
    WiFiClient* client = http.getStreamPtr();

    if (Update.begin(contentLength)) {
      size_t written = Update.writeStream(*client);

      if (written == contentLength) {
        Serial.println("Firmware written successfully");
      } else {
        Serial.println("Firmware write failed, written only " + String(written) + "/" + String(contentLength));
      }

      if (Update.end()) {
        if (Update.isFinished()) {
          Serial.println("Update complete, rebooting...");
          ESP.restart();
        }
      } else {
        Serial.println("Update error: " + String(Update.getError()));
      }
    }
  }
  http.end();
}
Designing a Practical OTA Update Strategy
Version Checking Before Downloading
Have the device first query a small endpoint for the latest available version number, compare it against its own current version, and only download the full firmware binary if a genuinely newer version exists.
Update Scheduling
For battery-powered devices, OTA checks and updates consume meaningfully more power than normal operation. Scheduling update checks during a device’s normal wake cycle keeps power consumption predictable, especially important for devices also using Deep Sleep, as covered in our ESP32 Deep Sleep guide.
Rollback and Failure Handling
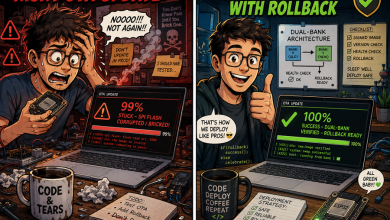
Always verify that new firmware actually boots successfully before considering the update complete. A common pattern involves the new firmware reporting back to a server before being marked as the confirmed, stable version — if it fails to check in, the device falls back to the previous working firmware on the next boot.
Security: Signing and HTTPS
For any production deployment, firmware updates should be served over HTTPS, and ideally cryptographically signed so the device can verify the firmware actually came from a trusted source before installing it.
Common OTA Pitfalls
Insufficient Flash Partition Size
The dual-partition OTA scheme requires enough flash memory to hold two full copies of your firmware simultaneously. Check your board’s partition scheme in Arduino IDE (Tools → Partition Scheme) and choose one with adequate OTA space.
Power Loss During Update
If power drops while a firmware image is being written, the update can be left in an incomplete or corrupted state. Design your update logic to detect and recover gracefully from an interrupted update on the next boot.
Network Reliability for Large Firmware Images
Building in retry logic, and verifying the downloaded firmware’s integrity (via checksum) before installing it, helps avoid installing a corrupted partial download.
Conclusion
OTA updates transform an ESP32 project from something you have to physically visit every time it needs a fix into something you can maintain and improve remotely, at scale. The core mechanism — dual-partition flash and a verified update process — is straightforward once set up, but the practical details around scheduling, security, and failure handling are what separate a reliable production OTA system from one that occasionally bricks devices in the field.
If your OTA-enabled project also needs to run on battery, see our ESP32 Deep Sleep guide for how to balance periodic connectivity against long-term power efficiency.